Your Cart is Empty


Unless we take a walk to the farmers market every week or resign to spending exorbitant amounts of money on luxury arrangements, we seldom find flowers that are beautifully arranged and put together. With the Heart and Thorn subscription, your flower woes can be a thing of the past as you can ditch the measly $10 bouquet from the grocery store that you snag on your way back from work every week. And let’s be honest, there is such a thing as too many mixed bouquets in harsh pops of colour that you can have around the home.
Heart and Thorn’s subscription packages offer you the best of exotic flowers from all over North America at prices you can’t beat. Say goodbye to your routine, run-of-the-mill shop bought bouquets, because here we show you the best ways to style your bouquet so that it looks good and lasts longer.
1: Selecting the Right Vase

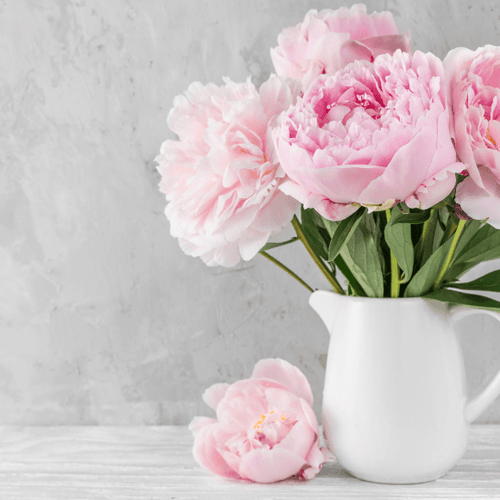
Before you begin to arrange your flower, make sure you pick a vase that complements the various and hues and textures of your flowers. Weather it’s crystal, glass, ceramic or clay, make sure it adds a touch of class to your arrangement and lends character to it.
Also, the rule of thumb for traditional arrangements is that the length of the flower stems should be no more than one and a half to two times the height of a vase. Heart & Thorn provides a free vase at the beginning of your subscription that is the perfect size to arrange and display your flowers beautifully. Talk about covering all bases!
2: Laying the Ground Work

A great first step to undertake prior to building your arrangement is to fill your vase with water. Pour just enough to dip your stems adequately. Water about ¼ of the way from the base is ideal. Once you have the requisite measure of water, proceed to add the ‘Flower Food’ that comes along with your subscription. You might want to use half the sent portion for the first week and the other half when you change out the water.
In case you have an opaque vase, it would be a great option to add in a flower sponge that would help keep your flowers in place. Soak the sponge generously before you place it in your vase and make sure there is enough moisture for the flowers you are about to place in to the vase.
3: Gathering the Elements

Bring out your Heart & Thorn Box and look at all that you have received. Divide the contents of your package into three parts – flowers, leaves & fillers. This is especially beneficial if you have received a mixed bouquet.
This step will give you a sense of what colour combinations you’d like to create and even help you decide which flowers need to go into which space, if you plan to use your delivery to decorate more than one space.
4: Pruning and Refining

Once your flowers and other fillers are laid out in from of you, proceed to cut all the stems diagonally at the ends. This helps the stems to absorb more water and thereby last longer and keep the arrangement looking fresher.
While you are at it, take a stab at excess leaves on stems as well. Trim all of the leaves on the stems so that they don’t prematurely rot and make your flowers go bad. This helps greatly in controlling and unpleasant odor that may occur due to withered leaves staying in water for prolonged periods. Also take care to remove any dry petals to set up your arrangement to look fresh.
5: Arranging Your Masterpiece

As a first step to arranging your bouquet place your favourite flowers that you want to project first. Make sure to place them higher than all the other stems so that they stand tall in the final arrangement. Proportionately trim the other floral stems and add them in moving in a circular motion as you do so. Once the flowers are in proceed with the leaves in the same manner, filling up the gaps as you go.
At this stage the bouquet should almost be full, and you can also make any desired changes at this stage. Once you’re satisfied with your placements, put in the fillers to make your bouquet look fuller and bring it all together. Voila! You now have a masterpiece that is going to be the highlight of any space that it adorns.
Author: Natasha Pradeep